Introduction
On the previous blog, I have added a ‘Layout’ component, and added routing pointing to the ‘Layout’ component utilizing ‘react-router-dom’. The steps are very straightforward, and I encountered no problem. I will be resuming with the Youtube tutorial.
Steps
For this day I decided to add the logo assets, and a ‘Sidebar’ component. I will create a separate blog for programming the styles (scss) for the ‘Sidebar’ component.
Making logos
- Use Online PhotoSoft.
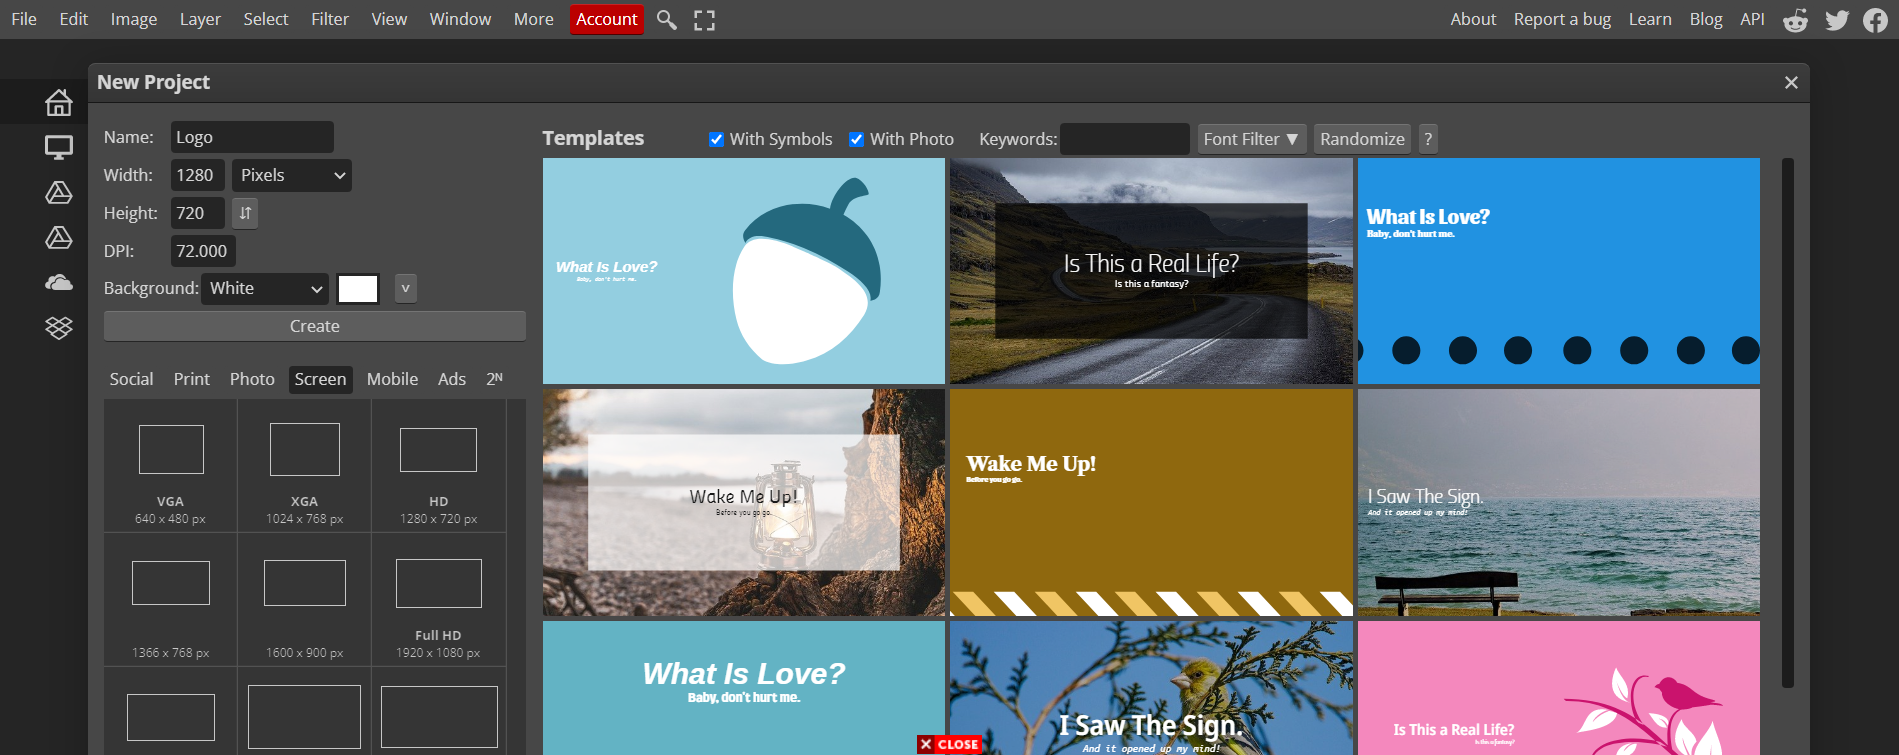
- Click on ‘New Project’.

- Change name to ‘Logo’
- Choose the ‘Screen’ tab.
- Pick the ‘HD’ template.
- Click the ‘Create’ button.
- Pick the ‘Text’ tool, which has the ‘T’ icon on the left sidebar.
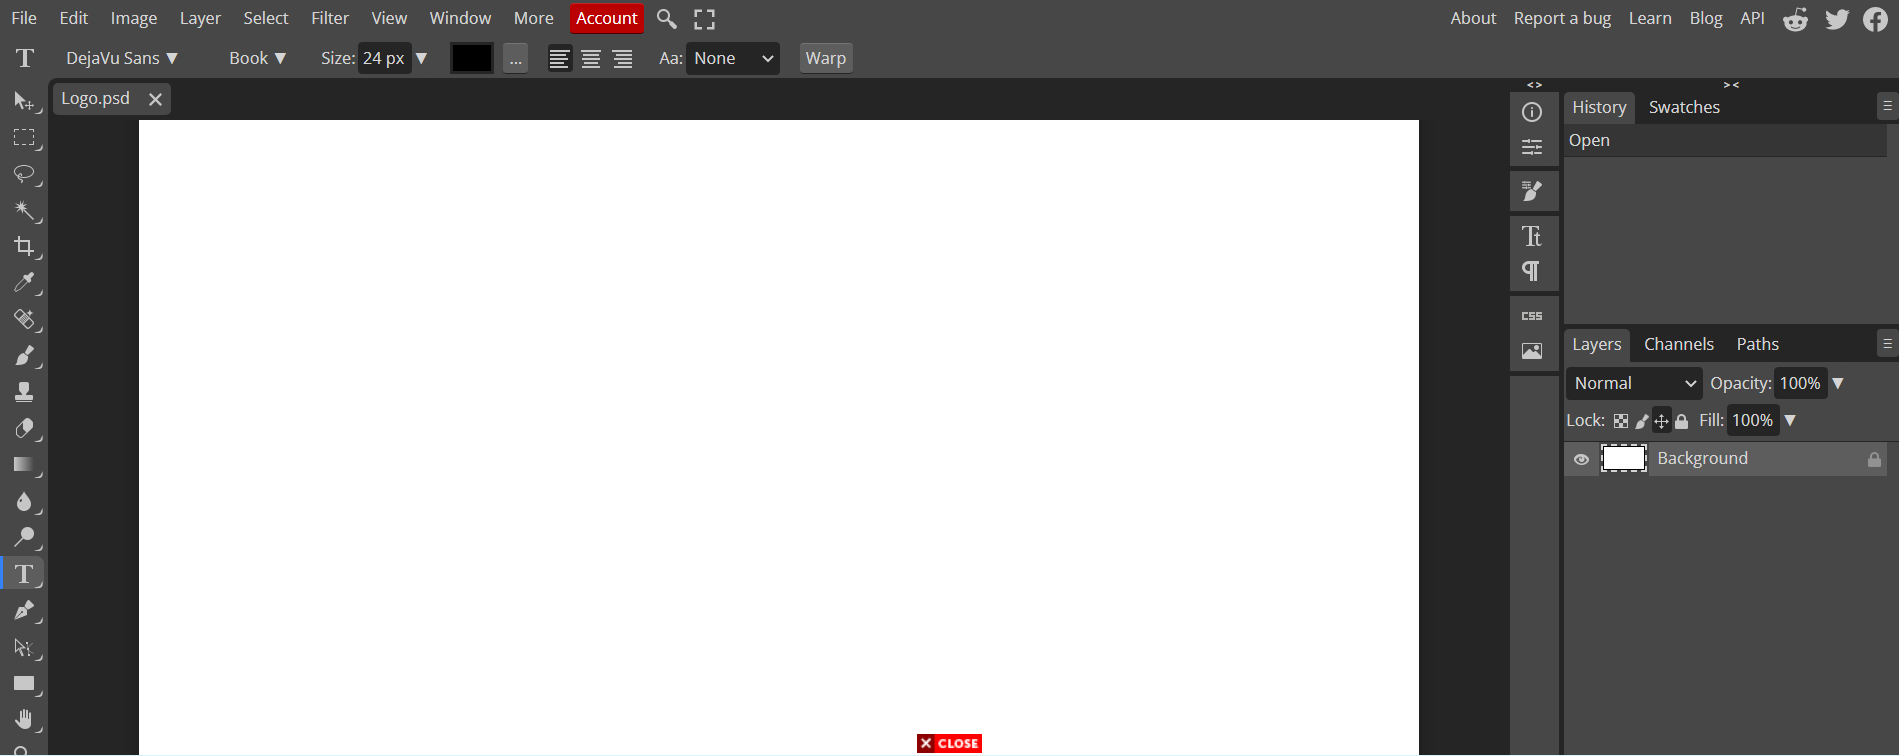
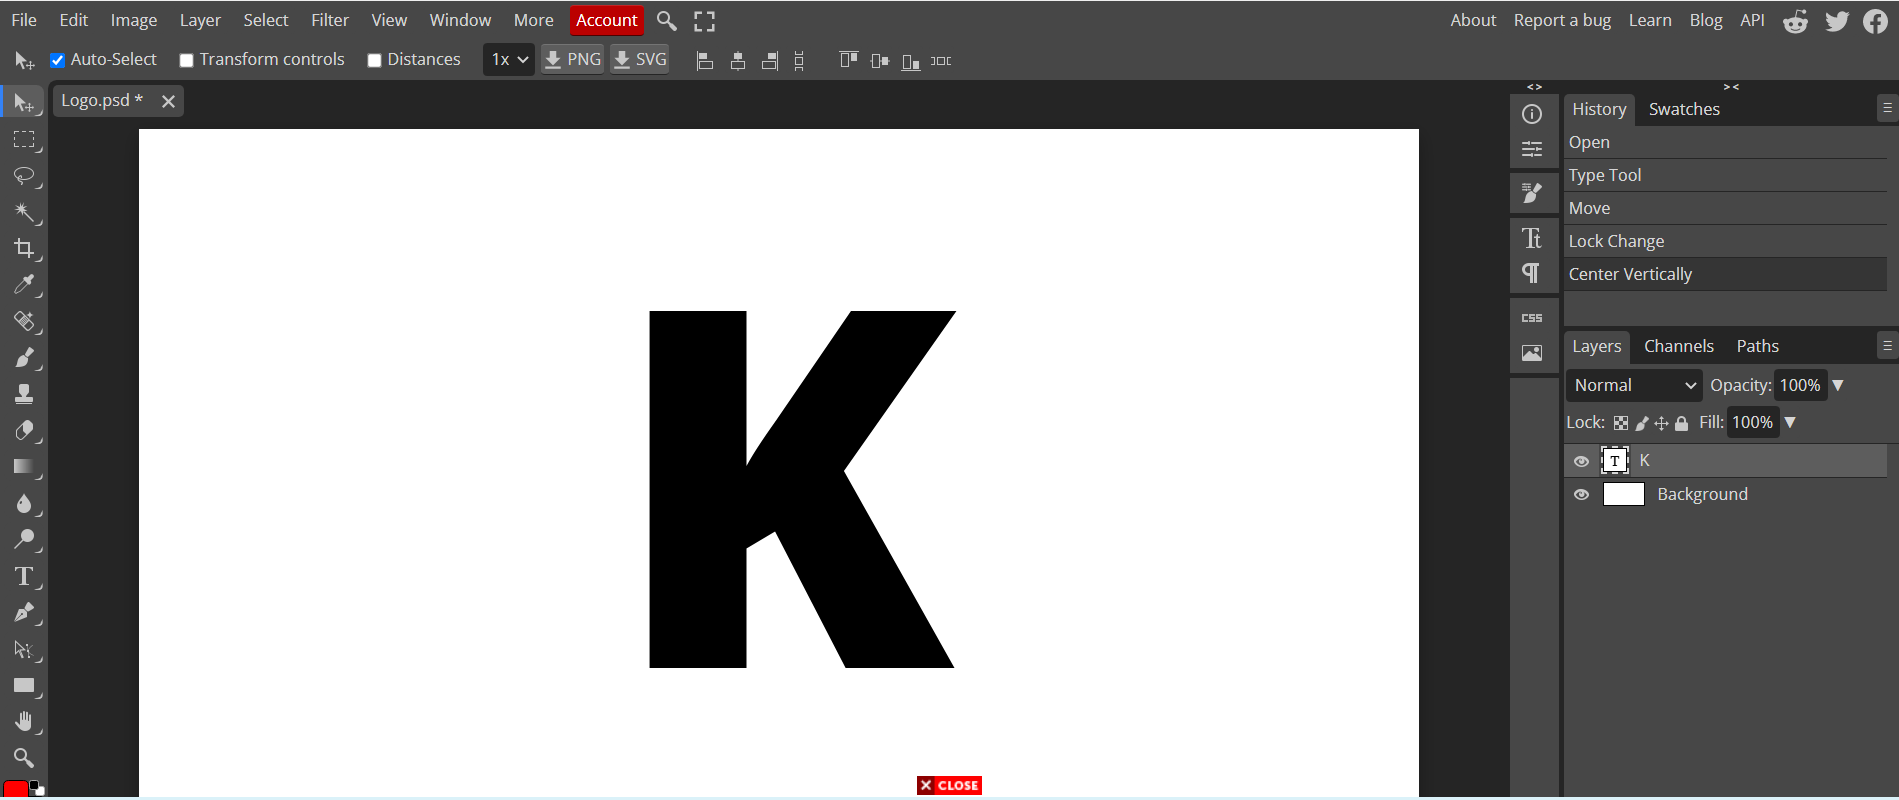
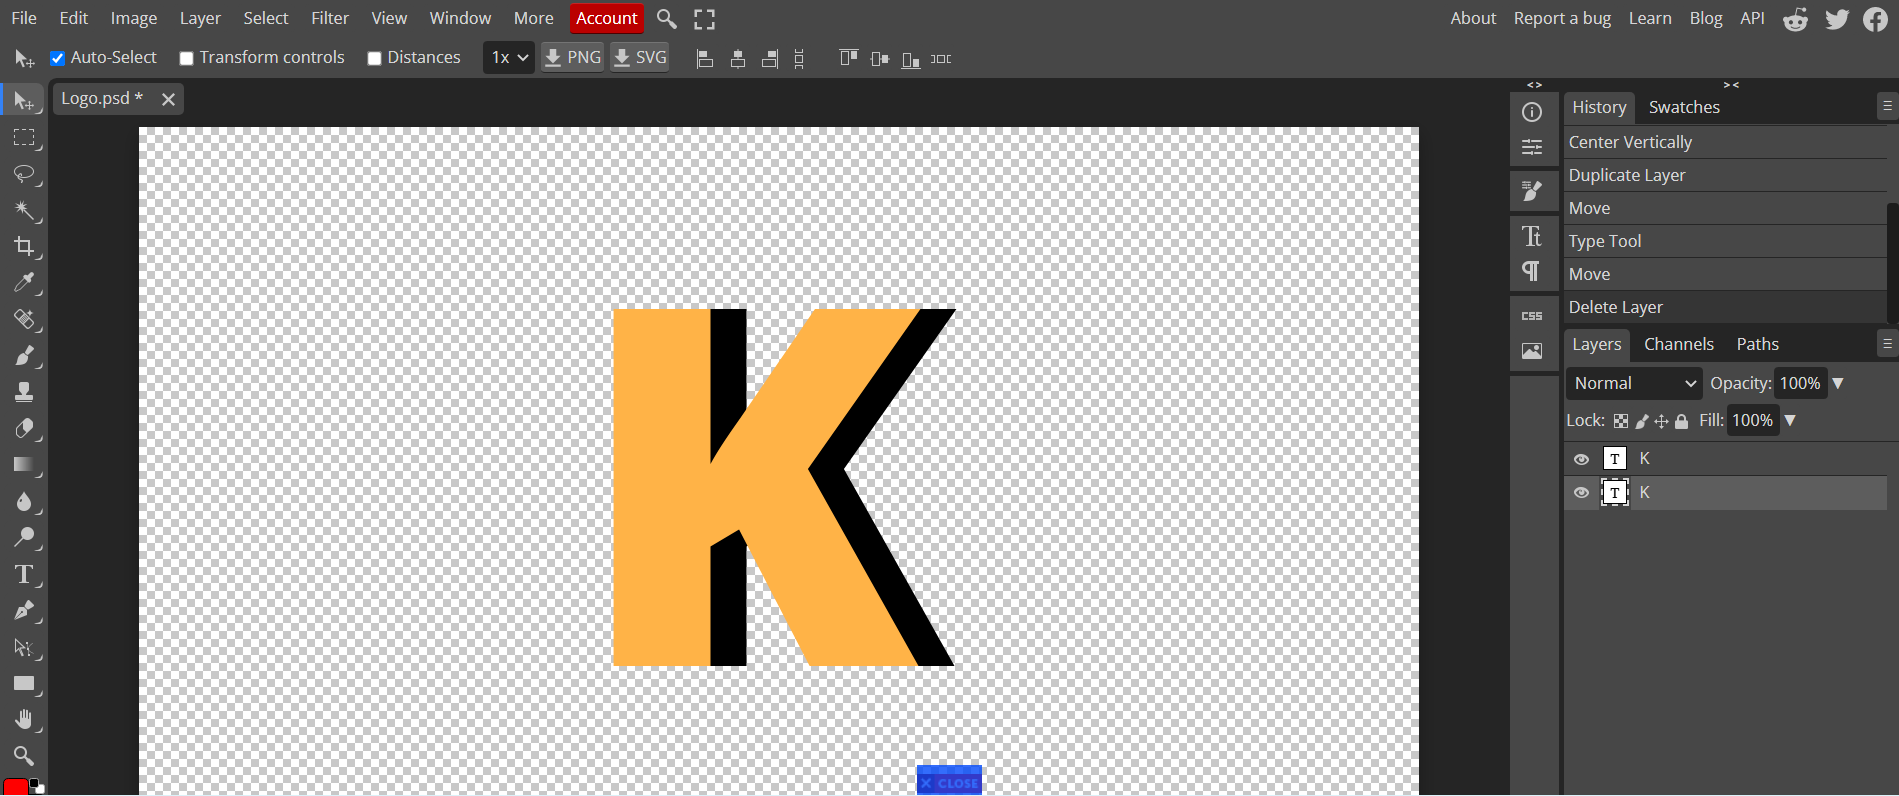
- Type any letter, for me it would be my initial.
- Change the font and size to whatever preference you have, for me I made it sized ‘500px’ and use the font ‘Open Sans ExtraBold’
- Center the text.
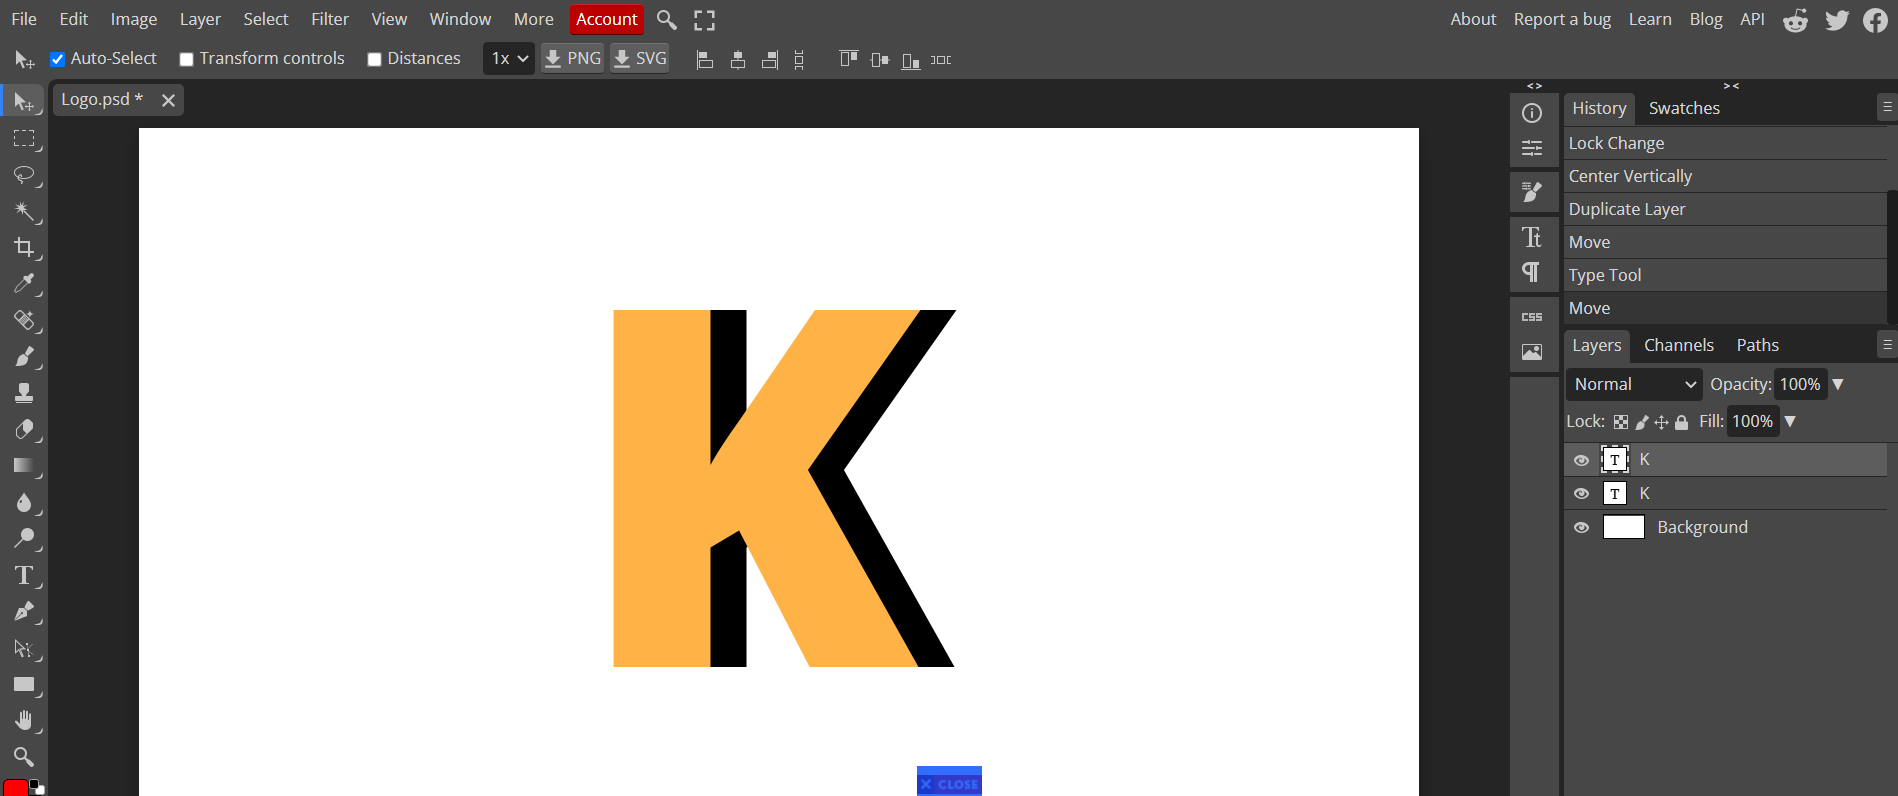
- On the layers tab on the right side of the screen, right click and duplicate your initial text.
- Highlight and change the color of the text, for me I made it pastel orange (#ffb347).

- Move the second letter by pressing the ‘right directional button’ on your keyboard.
- On layers, remove the ‘Background’ layer so the image would have a transparent background.
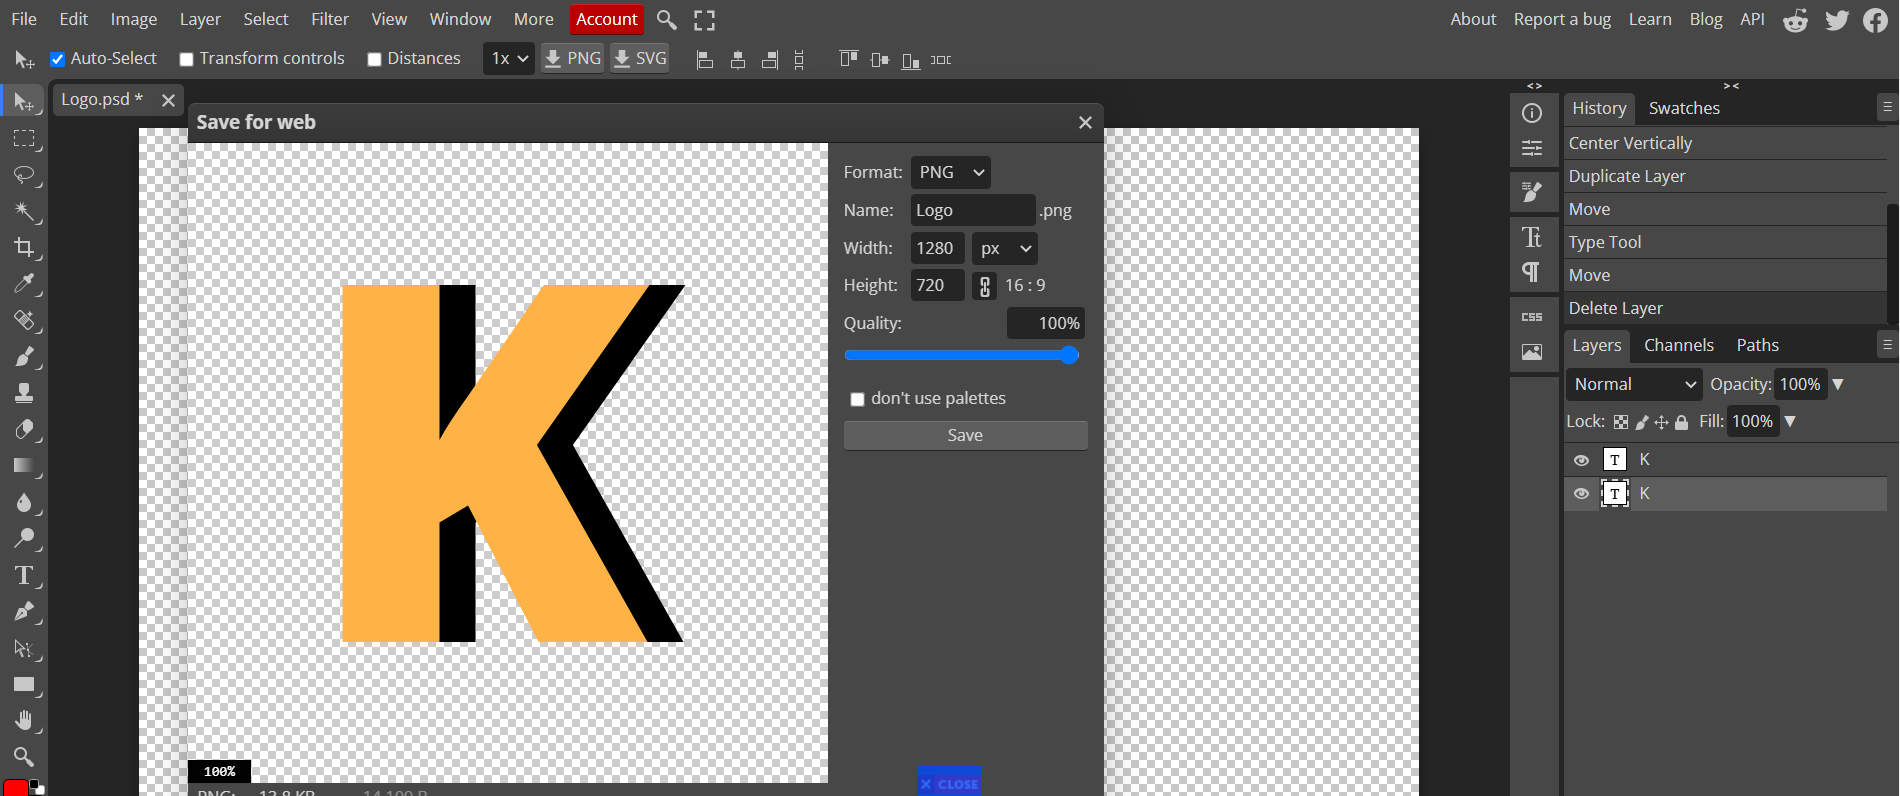
- Press the ‘file’ button on the toolbar on the top left side of your screen.
- Click ‘Export as’, then choose ‘PNG’.
- Press ‘Save as PSD’ to have save an editabble copy.
- Click the ‘Save’ button on the screen that popped up.
- A file called ‘Logo.png’ would be downloaded.
- Create the following directory ’tiukenywil11_portfolio/src/assets/images’.
- Copy the following to ’tiukenywil11_portfolio/src/assets/images’.
- Logo.png
- Optional: Logo.psd
- Note: Reference for images can be found here. These assets are used on the original Youtube tutorial by freeCodeCamp I’m following.
Creating a ‘Sidebar’ component
- Create the following directory ’tiukenywil11_portfolio/src/components/Sidebar’.
- Create the following files inside ’tiukenywil11_portfolio/src/components/Sidebar’.
- index.js
- index.scss
- Append ’tiukenywil11_portfolio/src/components/Sidebar/index.js’.
- Import ‘Link’ from ‘react-router-dom’.
import { Link } from 'react-router-dom';
- Import ’tiukenywil11_portfolio/src/components/Sidebar/index.scss’.
import './index.scss';
- Import ’tiukenywil11_portfolio/src/assets/images/Logo.png’.
import Logo from '../../assets/image/Logo.png';
- Create functional component ‘Sidebar’.
const Sidebar = () => {
	return <></>
}
- Add div tags with class name ’nav-bar’ in the return statment for Sidebar function.
const Sidebar = () => {
	return
    <div className='nav-bar'>

    </div>
}
- Add a ‘Link’ component from ‘react-router-dom’.
const Sidebar = () => {
	return (
		<div className='nav-bar'>
			<Link className='logo' to ='/'>
				<img src={Logo} alt="logo" />
			</Link>
		</div>
	)
}
- Export component so it could be used by other components.
export default Sidebar;
- Test if ReactJS app is working, the screen would look similar to Part 3, because we have not imported the ‘Sidebar’ component to the ‘Layout’ component yet.
npm start
Outro
The progress I made today adds a new component that would be styled on the next blog, the changes can be found in my GitHub repository here.
Read More:
Previous:
Decentralized Portfolio: Introduction
Decentralized Portfolio: Part 1
Decentralized Portfolio: Part 2
Decentralized Portfolio: Part 3
Next:
Decentralized Portfolio: Part 5
Decentralized Portfolio: Part 6